ULTIMATE GUIDE ON MAKING ACRYLIC BOXES
Due to their numerous uses, acrylic sheets have become one of the most widely used materials in the world. Acrylic sheets are affordable, convenient to use, lightweight, and highly customizable. It is available in a variety of colors and densities to achieve the unique effects that sign manufacturers, architects, and interior fabricators demand.
More than that, the acrylic sheet has excellent outdoor weather resistance and optical clarity. The strength and light weight of acrylic sheets are superior to those of glass. Given that it won’t crack, an acrylic sheet is a safer choice. Acrylic sheets are not only a reliable and long-lasting option, but they are also completely recyclable. Without the need for specialized tools, acrylic sheet offers unmatched versatility and is simple to fabricate, apply glue to, and bend.
Acrylic boxes are interesting and creative, and they can be used to decorate your walls, tables, floors, ceilings, or shelves. These boxes are attractive and come in a variety of sizes, colors, and shapes. They may serve as mere works of art or as containers for objects.
Using Plexiglass, you can quickly build a cheap acrylic box. Acrylic is designed to exhibit shatter resistance, in contrast to conventional glass, which is used to break and leave sharp edges when it was dropped. Due to its lightweight nature and exceptional weather resistance, PMMA (Polymethylmethacrylate) is typically used for solar panels, window panes, and display cases. You can display your valuables, cosmetics, awards, and other items in the homemade acrylic box.
Though acrylic storage boxes are readily available, you can also make it a part of your hobby to make personalized acrylic boxes. The Acrylic Company in Dubai offers the best acrylic material to let you make your own acrylic boxes.
You can make a box out of an acrylic sheet if you have one. We will find out how to make the acrylic box in this blog.
Materials needed:
- Acrylic sheet
- X-acto knife
- Stainless steel ruler
- Super glue
- Cutting mat
The task of cutting the sheet will require varying amounts of effort depending on the thickness of the sheet you have. Plexiglass will develop cracks if improperly drilled. If you want to make an acrylic display case that opens, you must drill the precise holes for the hinge screws. Use a plexiglass drill with 600 tips to work better with the hard plastics and prevent cracks. Last but not least, lubricate the drill with mineral oil to ensure smooth drilling.
Follow these steps:
Prepare the sheet into a piece of 4 x 10 inches
- While positioning the acrylic sheet on a flat surface, hold the stainless steel ruler along the area of the sheet where you want to make the cut. Holding the ruler firmly is important.
- Cut the acrylic sheet three to four times along the ruler.
- Turn the sheet over immediately. You can see the cut through to the other side of the sheet as it is transparent.
- Hold the ruler precisely along the other side of the cut while being careful. Cut this side again 3-4 more times. Deep cuts are required. Apply all the pressure you can.
- With your thumb, hold the ruler along the cut, and with the remaining fingers, hold the acrylic sheet across from the cut or ruler. Along the cuts, exert as much pressure as you can.
- The sheet will eventually split along the cuts.
For the box, cut out more pieces. We had to cut them all to the same size as we are making a square box. Four pieces make up the sides, with one piece serving as the bottom. Clean all the components with glass cleaner before assembling the box. The side pieces need an additional 0.5 cm of width.
- Place a scrap of paper on your craft space (table or flat surface). Place the scrap paper on top of the base sheet and hold any side piece vertically against any base piece. Apply super glue along the joint part of both pieces.
- Similarly, hold another side piece vertically near the first one and apply glue to its joint parts with the other pieces.
- Similarly, glue the 2 other sides. Allow the glue to dry.
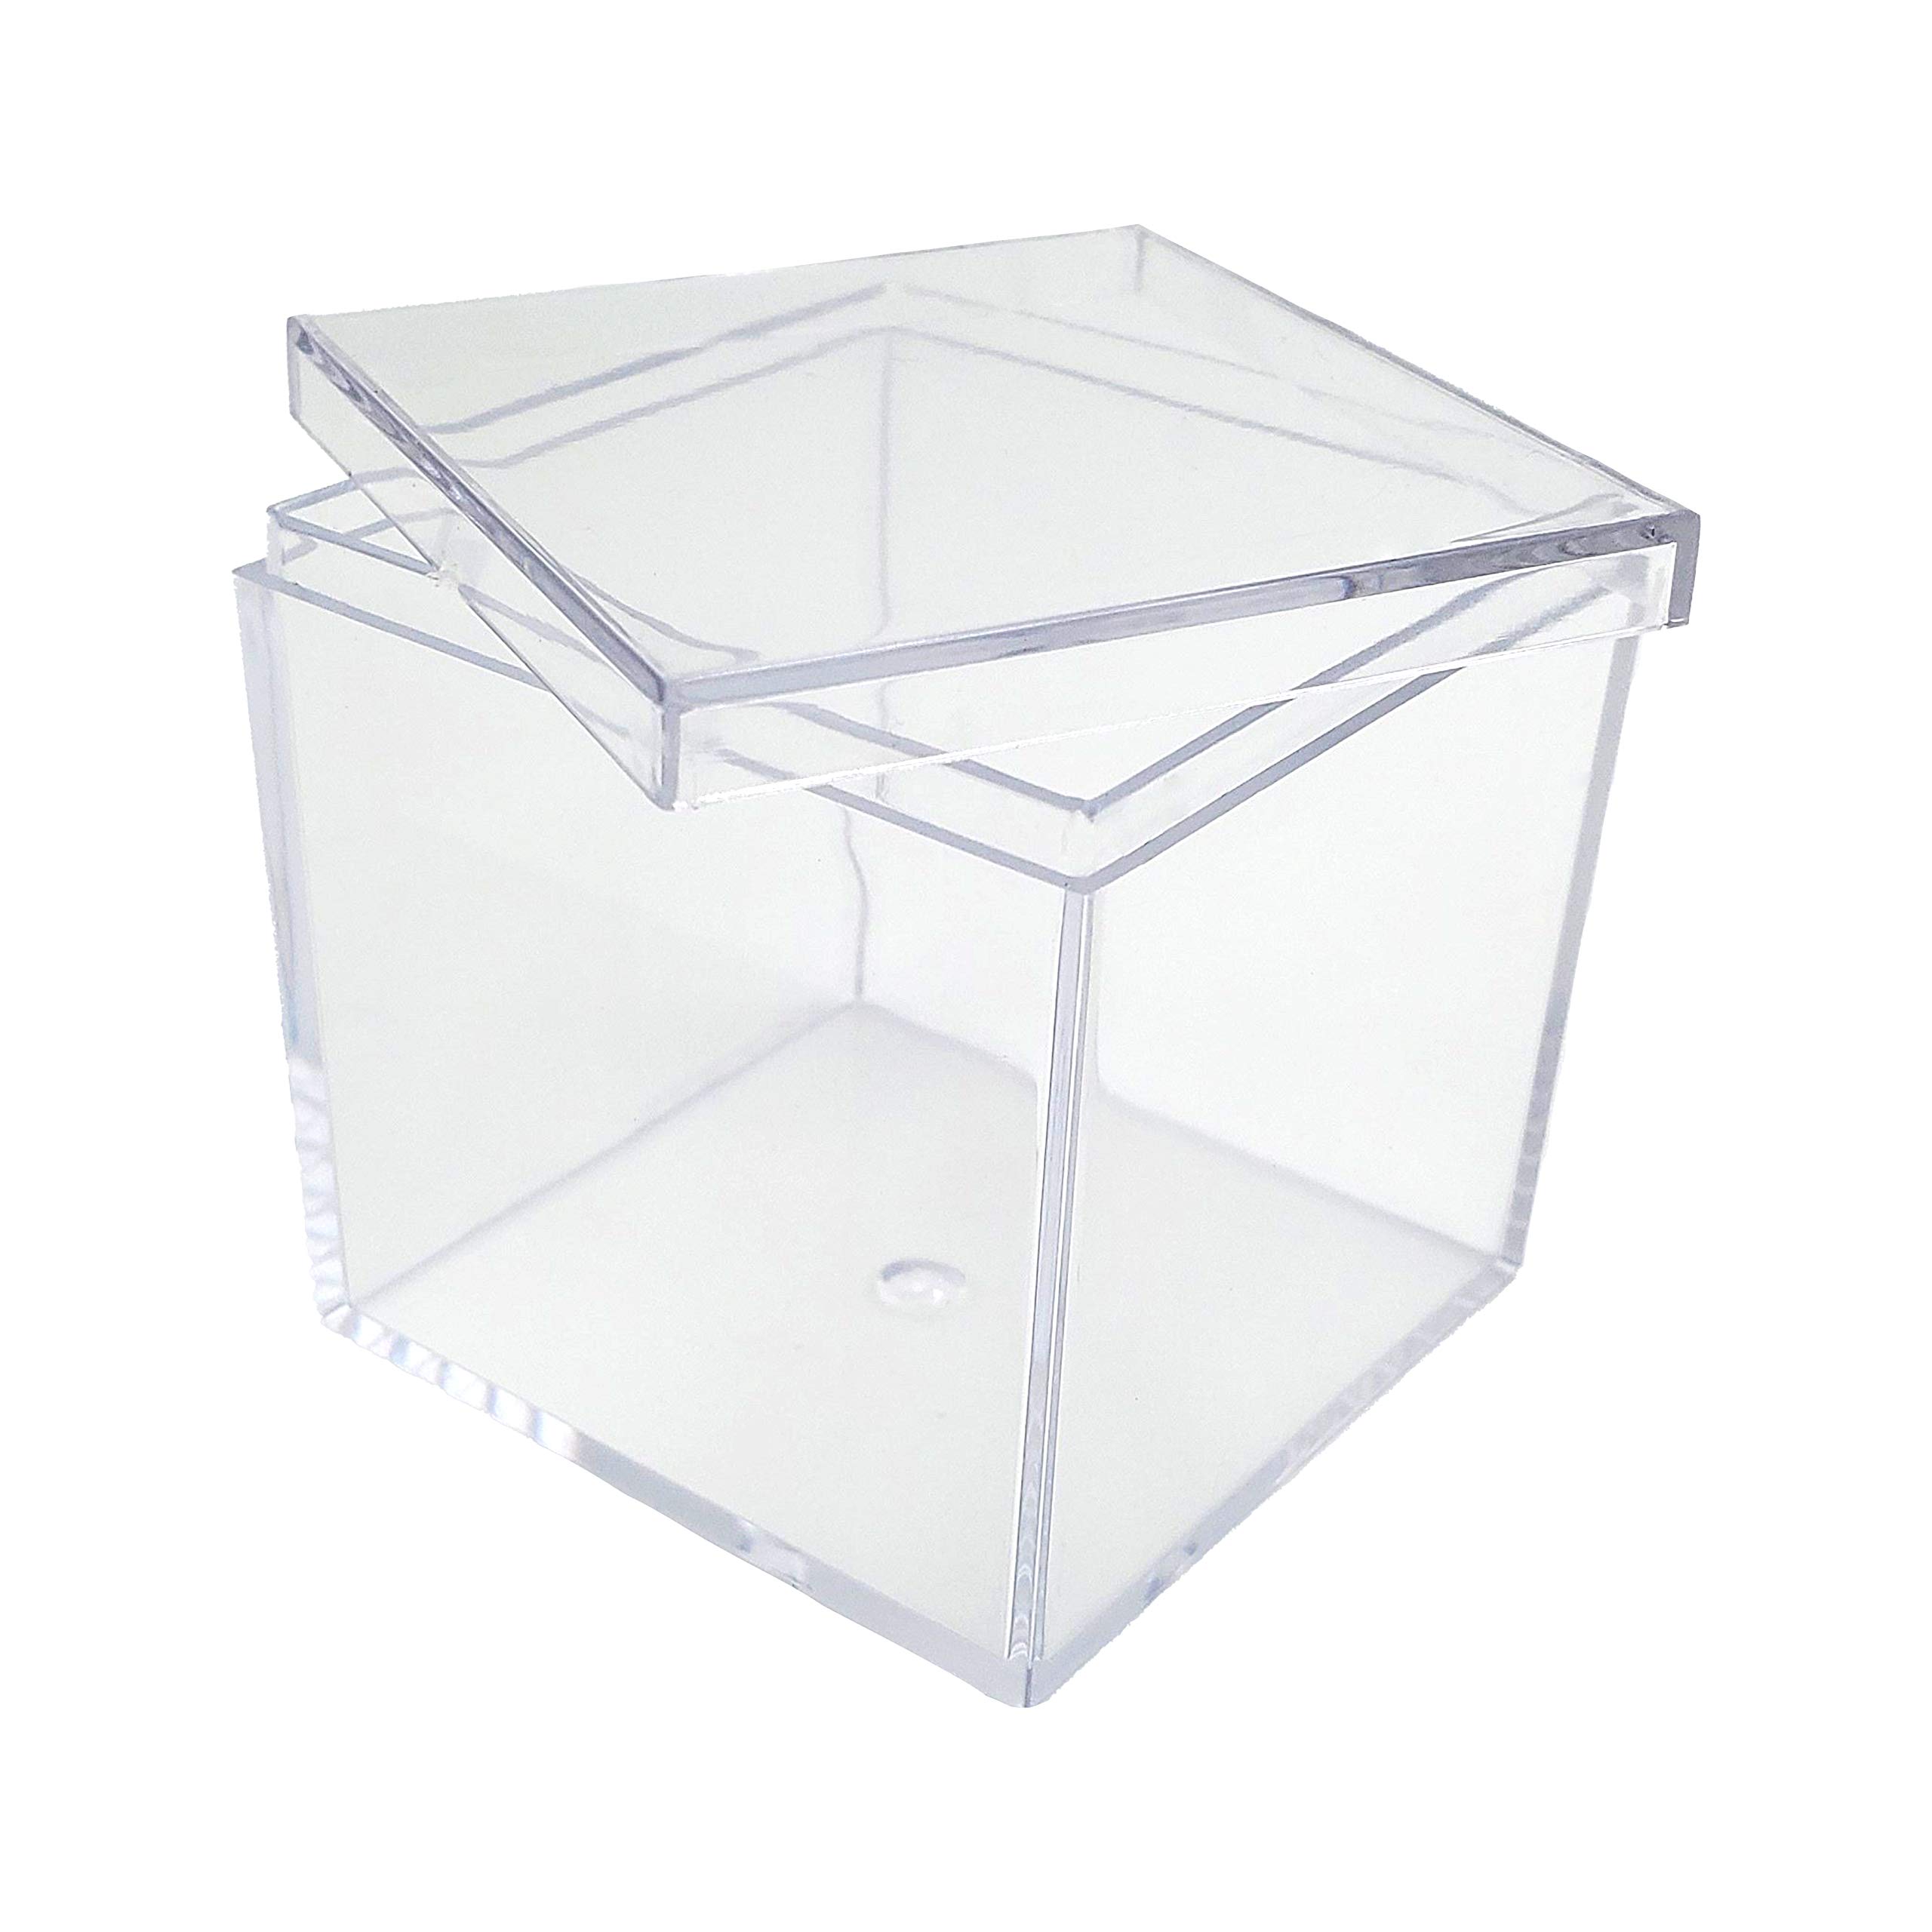
There you go! Your acrylic box is ready.